How to draw straight lines in GIMP
Drawing straight lines is an essential part of graphic design, photo editing, and digital art projects.
This is especially important when you want to create precision, such as in designs that incorporate geometric shapes or architecture.
While drawing straight lines is pretty straightforward in some image editing applications, GIMP doesn't have a “line tool”, so it can be a bit confusing at first. However, it is still very easy to draw straight lines in GIMP once you learn how to.
In this article, I will show you how to draw straight lines in GIMP in step-by-step processes using different methods.
Drawing straight lines in GIMP
We will cover three different methods in which you can draw straight lines in GIMP.
- Using Paintbrush Tool
- Using Path Tool
- Using Rectangle Select Tool
Method 1: Using Paintbrush Tool
Follow the steps below:
Step 1: Open GIMP and create a new image or open an existing one.
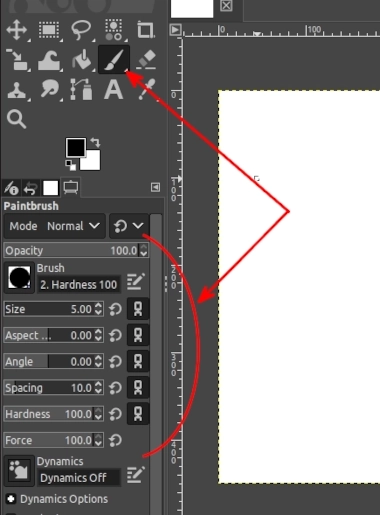
Step 2: Select the “Paintbrush Tool” from the toolbox in the left column. Choose your preferred brush and make customizations such as size and hardness under the tool options.
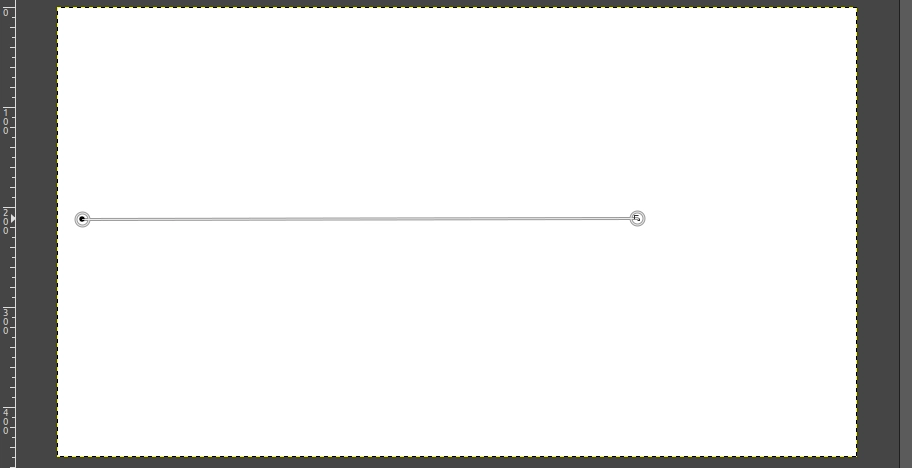
Step 3: Click anywhere on your image to mark the first point of the line. Then press and hold the Shift key as you move the mouse cursor. You will see a line from the starting point to wherever you move the cursor as shown below.
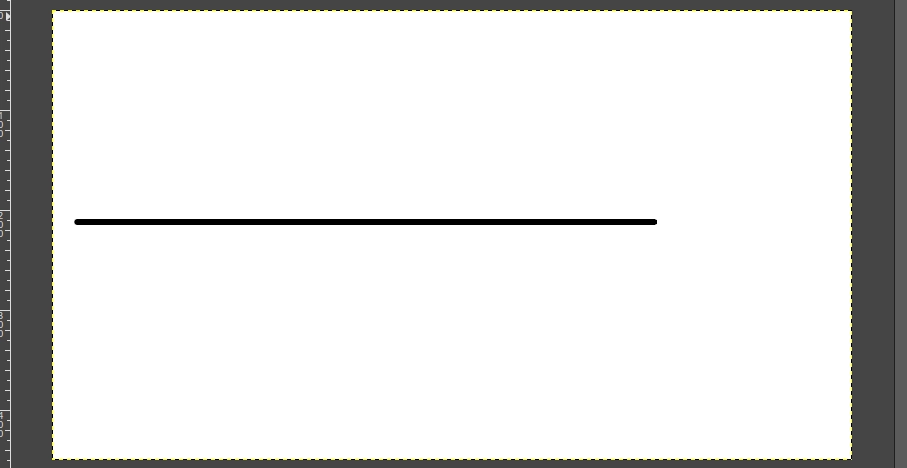
Step 4: While still holding the Shift key, click on a second point on the image to mark where the line should end, then release the Shift key. A perfectly straight line will be drawn between the two points with the selected foreground color and brush settings.
Method 2: Using the Path Tool
Follow the steps below:
Step 1: Open GIMP and create a new image or open an existing one.
Step 2: Select the “Path Tool” from the toolbox in the left column.
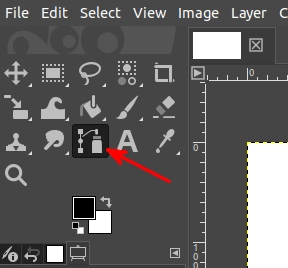
Step 3: Click on the point where you would want the line to start on the image, then click on a second point where the line should end. A path will be formed as shown below.
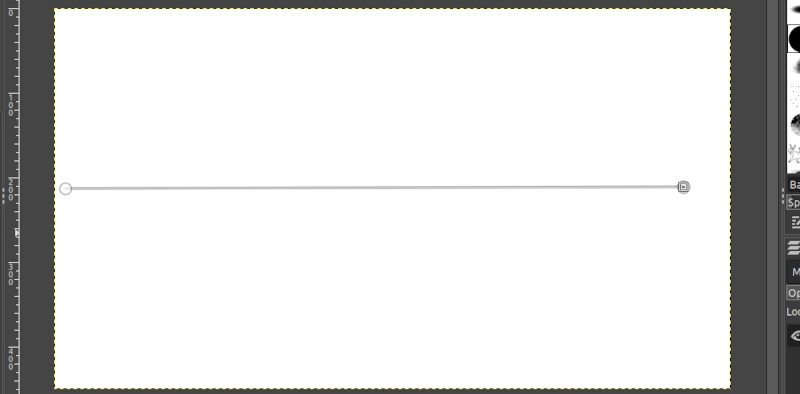
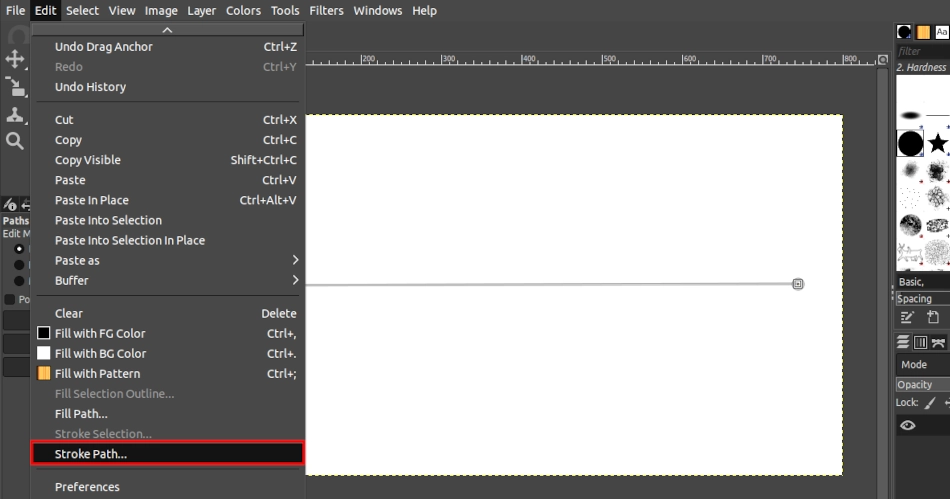
Step 4: Now open the “Edit” menu and select the “Stroke Path” option.
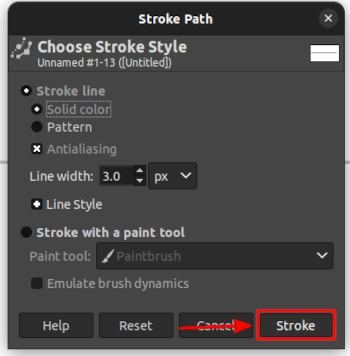
Step 5: A “Stroke Path” dialog box will open. Make sure the “Stroke line” and “Solid color” options are selected. Enter the line width value to set the thickness of the resulting line. Then click on the Stroke button to draw the line.
You will now have your perfect straight line as shown below.
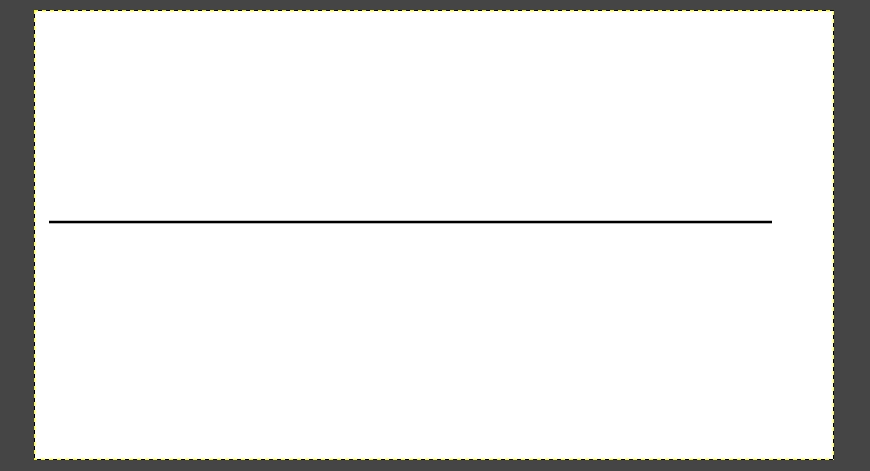
Alternatively, in step 5 above, you can choose to have the path filled with a pattern instead of a solid color. To do so, select “Pattern” under the “Stroke line” option.
Else, you can select the “Stroke with a paint tool” option and then select your preferred tool.
Whatever option you choose, you have to click on the Stroke button in order for the line to be drawn.
Method 3: Using the Rectangle Select Tool
You can also draw a line using the Rectangle Select Tool by following the steps below:
Step 1: Open GIMP and create a new image or open an existing one.
Step 2: Select the “Rectangle Select Tool” from the toolbox in the left column. Then make a selection on the image along the area you want to draw the line with the desirable line thickness.
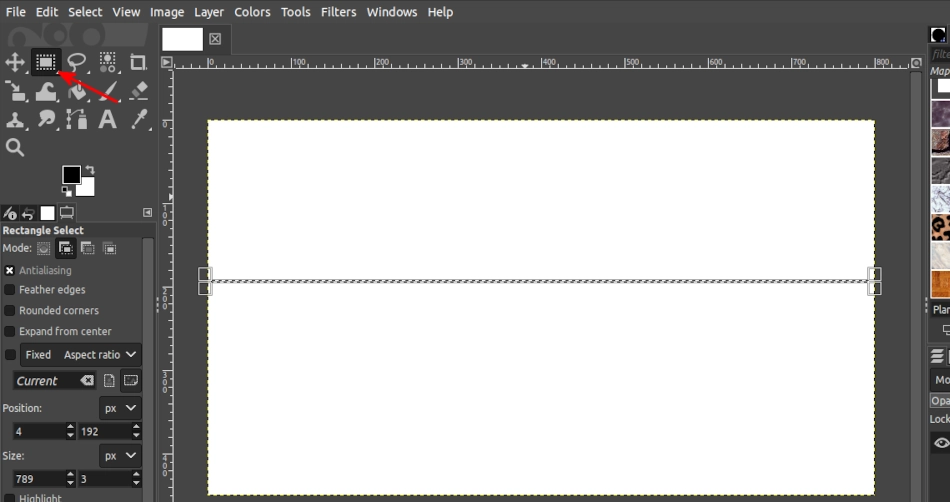
Step 3: Open the “Edit” menu and select the “Fill with FG color” option.
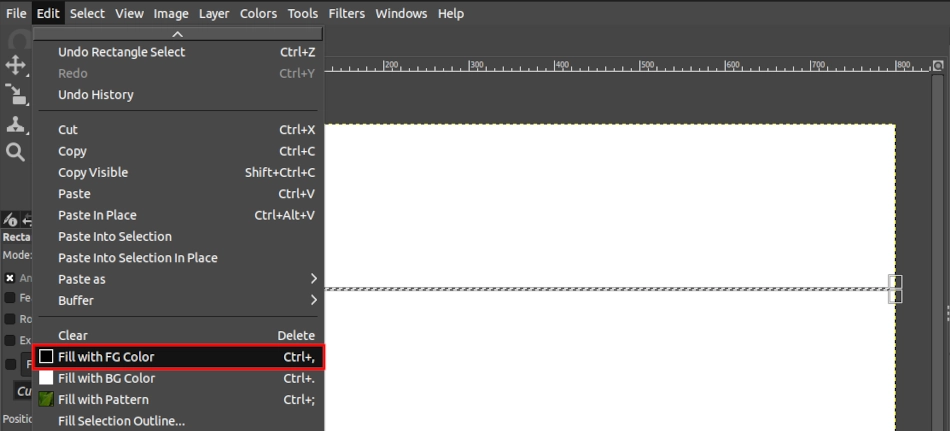
GIMP will automatically fill the selected area with the foreground color. Click anywhere on the image or press the “Shft+Ctrl+A” keyboard shortcut to remove the selection. You will have a straight line as shown below.
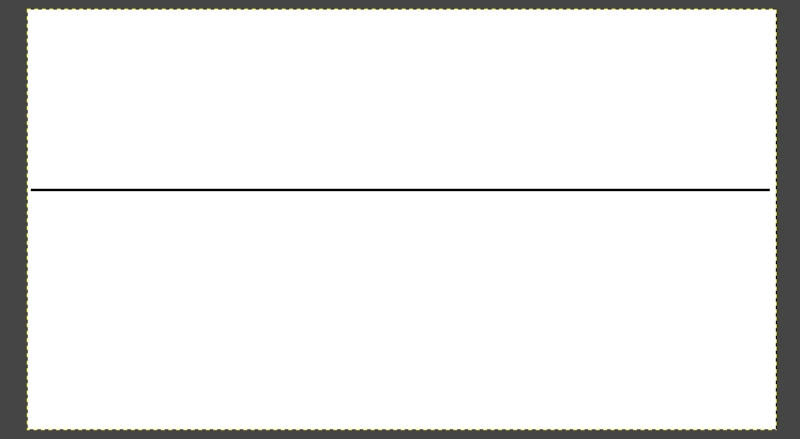
This method is best used when drawing horizontal or vertical straight lines unlike the previous two, which you can use to draw lines diagonally or in whichever direction.
That's how easy it is to draw straight lines in GIMP.

